Introduction
Importance of Staggering Vinyl Plank Flooring
Staggering vinyl plank flooring is an important part of the fitting process that greatly affects how good the floor looks and how well it works. By staggering the joints of the planks, homeowners can spread the seams out evenly across the room. This lowers the risk of structural flaws and makes the flooring more stable and long-lasting. This guide is totally about the question of How to Stagger Vinyl Plank Flooring. Keep stay our article for getting plank flooring information.
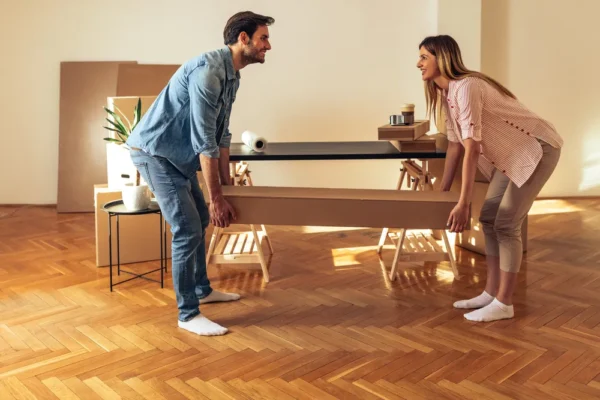
If you’re worried about getting a new floor? You have the question, What to do with Furniture When Getting New Flooring? We’ve also covered your question. Please read our latest blog.
Benefits of Proper Installation for Durability and Aesthetics
When vinyl plank flooring is installed correctly, it has many benefits, such as lasting longer and looking better. When installed properly, vinyl plank flooring doesn’t get worn down, damaged, or wet, so it lasts a long time and only needs a little upkeep. Precise installation also guarantees a smooth and aesthetically pleasing finish, improving any place’s look.
Understanding Staggering in Vinyl Plank Flooring
Definition of Staggering and Its Purpose
When you stagger vinyl plank flooring, you move the seams or joints between rows of tiles at different angles every time. Spreading the lines out evenly across the room is the point of staggering. This makes the floor more stable and nice to look at. This method helps keep the structure strong and lowers the chance that the planks will move or separate over time.
Explanation of Why Staggering is Crucial for Structural Integrity
Vinyl plank flooring must be staggered for structural integrity. Offsetting seams between rows causes staggering weight and tension to spread over the floor. This decreases pressure on specific joints, reducing the possibility of gaps, buckling, and other flooring stability and durability issues. Proper staggering keeps planks aligned and straight, creating a more consistent and professional installation.
Visual Impact of Properly Staggered Flooring
The room’s appearance is greatly affected by properly staggered flooring. Even seams produce a smooth, coherent effect that enhances flooring aesthetics. Staggered joints create a sense of continuity and flow over the floor, making the room appear larger and more proportional. Staggered vinyl plank flooring offers elegance and durability to any room.
Pre-Installation Preparation
Gathering Necessary Tools and Materials
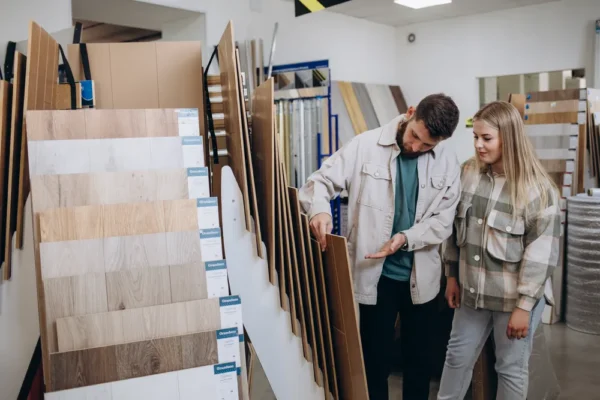
Gather all tools and materials before installing. Vinyl plank flooring, underlayment (if needed), adhesive or click-lock system components, a utility knife or vinyl cutter, measuring tape, pencil, tapping block, rubber mallet, spacers, straight edge or T-square, and safety gear like knee pads and goggles may be needed. Having all equipment and materials on hand streamlines installation.
Acclimating Vinyl Plank Flooring to the Installation Environment
Successful vinyl plank flooring installation requires proper acclimatization to the installation environment. Following manufacturer temperature and humidity recommendations, let the flooring acclimate in the space for 48 hours before installation. This lets the planks react to the environment, eliminating the possibility of expansion, contraction, or warping following installation.
Inspecting Subfloor for Flatness, Cleanliness, and Moisture Levels
Check the subfloor for flatness, cleanliness, and dampness before laying on vinyl plank flooring. Ensure the subfloor is level, smooth, and clear of debris, protrusions, and defects before installing. Check the subfloor for unevenness or dips with a straight edge or T-square. Use a moisture meter to check the subfloor’s moisture levels to ensure they meet flooring manufacturer standards.
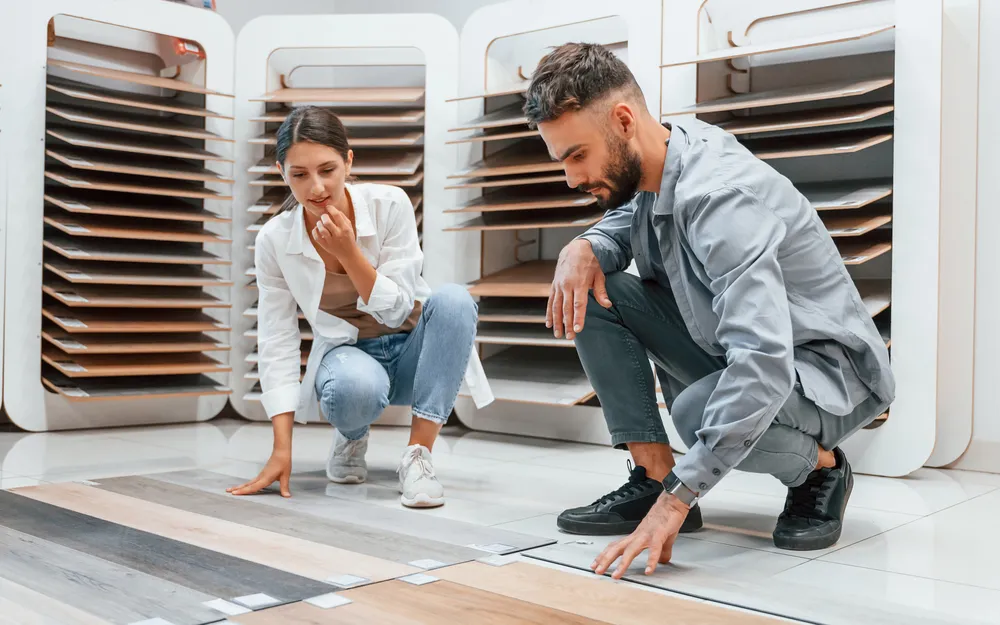
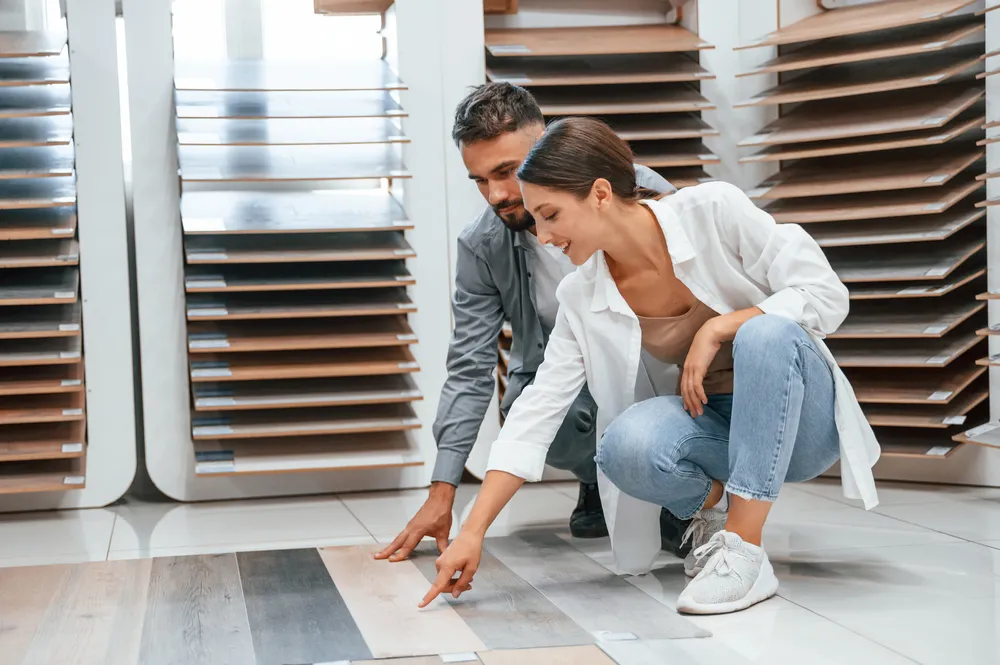
Planning the Layout and Determining the Starting Point
Determine the vinyl plank flooring pattern and installation start point. Consider room size, traffic, and aesthetics when developing the layout. Start installing from the room’s longest wall or main entryway and go toward the opposite wall. Maintain expansion gaps along the room perimeter with spacers for a uniform layout.
Staggering Vinyl Plank Rows
Cutting the First Plank of the Second Row to Ensure Staggered Joints
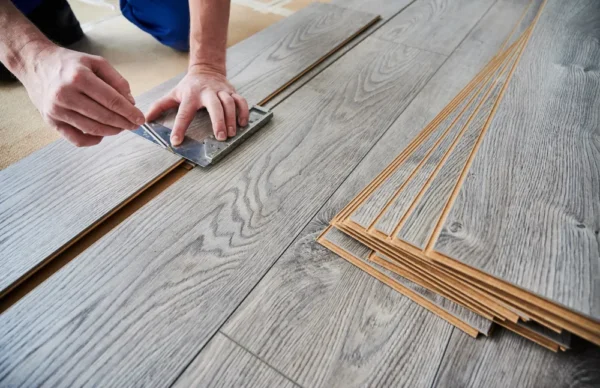
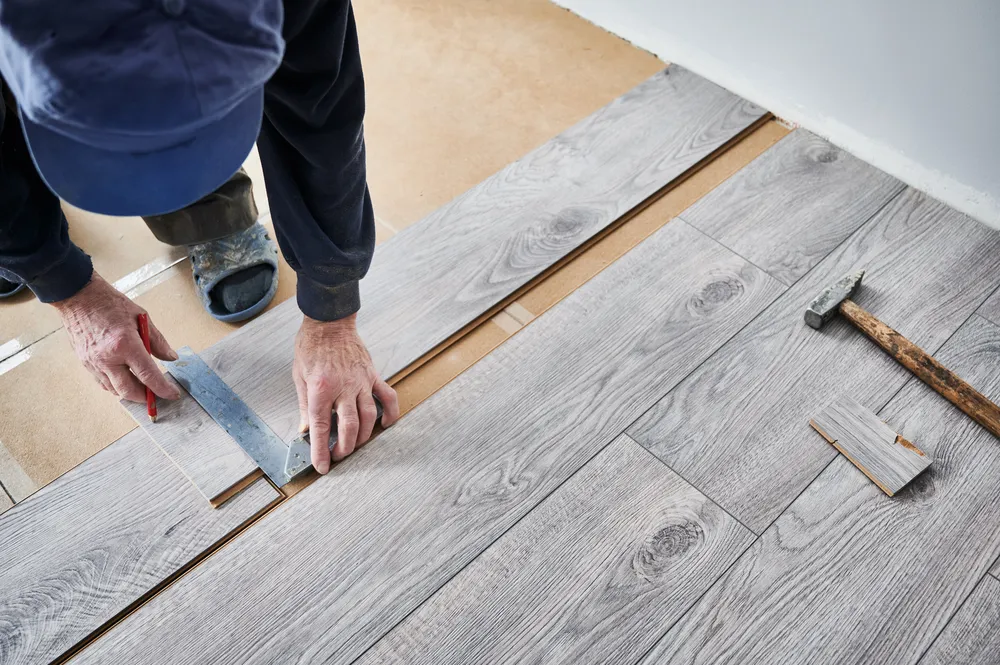
Start the second row of vinyl plank flooring by cutting the first plank for staggered joints. First, the length of the plank should be measured and marked for the staggered joint. Cut precisely along the marked line with a utility knife or vinyl cutter. Ensure the cut plank fits snugly against the starting wall and matches the first row.
Installing the Second Row, Ensuring Staggered Joints with the First Row
Installation of the second row should be staggered with the first row after cutting the first plank. Insert each plank’s tongue into the groove of the previous row at a slight inclination, then lower it. For a snug fit and no gaps, gently tap the long edge of each board with a tapping block and rubber mallet.
Continuing to Stagger Subsequent Rows, Maintaining a Random Pattern
To minimize seams and joints, stagger vinyl plank flooring rows. Change the initial plank length to stagger adjacent joints by at least 6 inches and start each row differently. This staggered pattern makes the flooring look more natural and strengthens it.
Using a Tapping Block and Rubber Mallet to Snugly Fit Planks Together
A tapping block and rubber mallet will tightly fit planks together and give a flawless finish throughout the installation. Place the tapping block against each plank’s edge and gently tap it with the rubber mallet to fill gaps and secure it. Use spacers to keep wall expansion gaps regular and avoid damaging the planks or locking mechanism.
Addressing Doorways, Corners, and Obstacles
Cutting Planks to Fit Around Door Jambs and Irregular Shapes
Vinyl planks should be cut to fit around entrances, corners, and odd shapes. Transfer door jamb or irregular area width and depth dimensions to boards. Use a utility knife or vinyl cutter to cut following the marked lines for a close fit around the barrier and adequate expansion gaps.
Ensuring Proper Expansion Gaps Around the Perimeter and Obstacles
To accommodate vinyl plank flooring expansion and contraction, leave expansion gaps around the room and obstructions. Space flooring between walls, door jambs, and other impediments with spacers. The expanding gaps allow the
Vinyl plank flooring resists buckling and warping from temperature and humidity changes, offering long-term stability.
Transitioning to Different Flooring Types or Rooms Seamlessly
Use transition strips or moulding to make a smooth, attractive transition between flooring types or rooms. Transition strips should match the vinyl plank flooring and neighbouring flooring. Transition strips at doors or thresholds hide the expansion gap between flooring types and add a neat finish. Ensure the transition strip matches the flooring height for a seamless transition that reduces tripping and improves the space’s attractiveness.
Installing the Final Row
Measuring and Cutting Planks to Fit the Remaining Space
The final row of vinyl plank flooring width should be measured. Mark and cut planks to fit the remaining space at the right width and length for a smooth finish. Cut precisely along the marked lines with a utility knife or vinyl cutter, keeping expansion gaps along walls and obstructions.
Ensuring the Final Row is Parallel and Properly Staggered with the Previous Rows
Ensure the last row of vinyl plank flooring is parallel and staggered before putting it. Using a straight edge or T-square, ensure the last row aligns nicely with the previous rows. Adjust the final row width to preserve a staggered pattern and a uniform floor appearance.
Installing Molding or Trim to Cover Expansion Gaps and Provide a Finished Look
Install moulding or trim to conceal expansion gaps along the room’s perimeter and finalize the look after installing the final row of vinyl plank flooring. Choose moulding or trim that matches the flooring and enhances the space’s look. Mold walls, doorways, and flooring transitions to hide expansion gaps and provide a seamless transition. Use adhesive or finishing nails to fix the molding for a professional finish.
Maintenance Tips for Staggered Vinyl Plank Flooring
Regularly Sweeping or Vacuuming to Remove Dirt and Debris
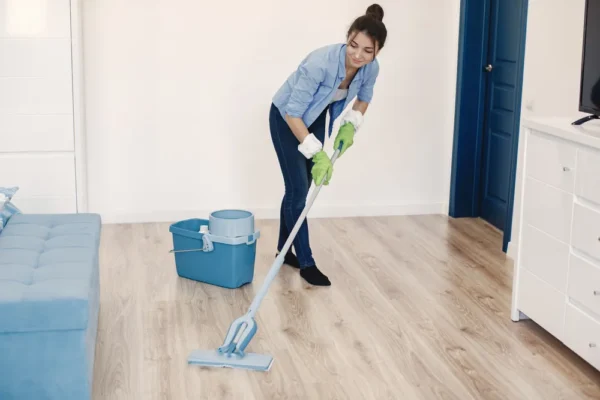
Clean staggered vinyl plank flooring by brushing or vacuuming dirt, dust, and debris. Use a soft-bristle broom or vacuum with a brush attachment to remove surface particles and prevent them from gathering between board seams. Regular cleaning maintains flooring beauty and integrity.
Using Manufacturer-Recommended Cleaning Products and Methods
Clean staggered vinyl plank flooring with manufacturer-recommended materials and methods to maintain its finish. To protect the flooring, follow the manufacturer’s cleaning instructions. Clean stubborn stains and spills with a damp mop or cloth and mild detergent. Avoid harsh chemicals or abrasive cleansers that may scratch or discolor the finish.
Repairing or Replacing Damaged Planks Promptly to Maintain Integrity
Regularly check staggered vinyl plank flooring for scratches, dents, and water damage. To maintain flooring beauty, repair or replace broken boards immediately. Replacement planks are available from the manufacturer or the original installation. Addressing damage quickly prevents subsequent concerns and keeps flooring in top condition for years.
Conclusion
Staggering vinyl plank flooring ensures a solid and attractive installation. Staggering seams throughout the space maintain flooring stability and durability while improving its appearance. Proper staggering is essential to the installation process because it creates a seamless finish and reduces structural difficulties.
Proper installation is essential for the longevity of vinyl plank flooring. Professional results depend on every stage, from pre-installation preparation to staggered row installation and maintenance. Follow approved processes and techniques to enjoy attractive, lasting flooring that adds value and comfort to a house for years.
Homeowners can install DIY vinyl plank flooring to save money and customize their area. DIY installations can be rewarding but require careful planning, cutting, and attention to detail. Homeowners may overcome these obstacles and experience the satisfaction of a successful installation project with patience, dedication, and the correct resources.
Thus, staggering vinyl plank flooring is essential to installation, assuring structural integrity, aesthetic appeal, and durability. By following proper practices and embracing the challenges and rewards of DIY installation, homeowners may have attractive, durable flooring that enhances their home’s beauty and functionality.